
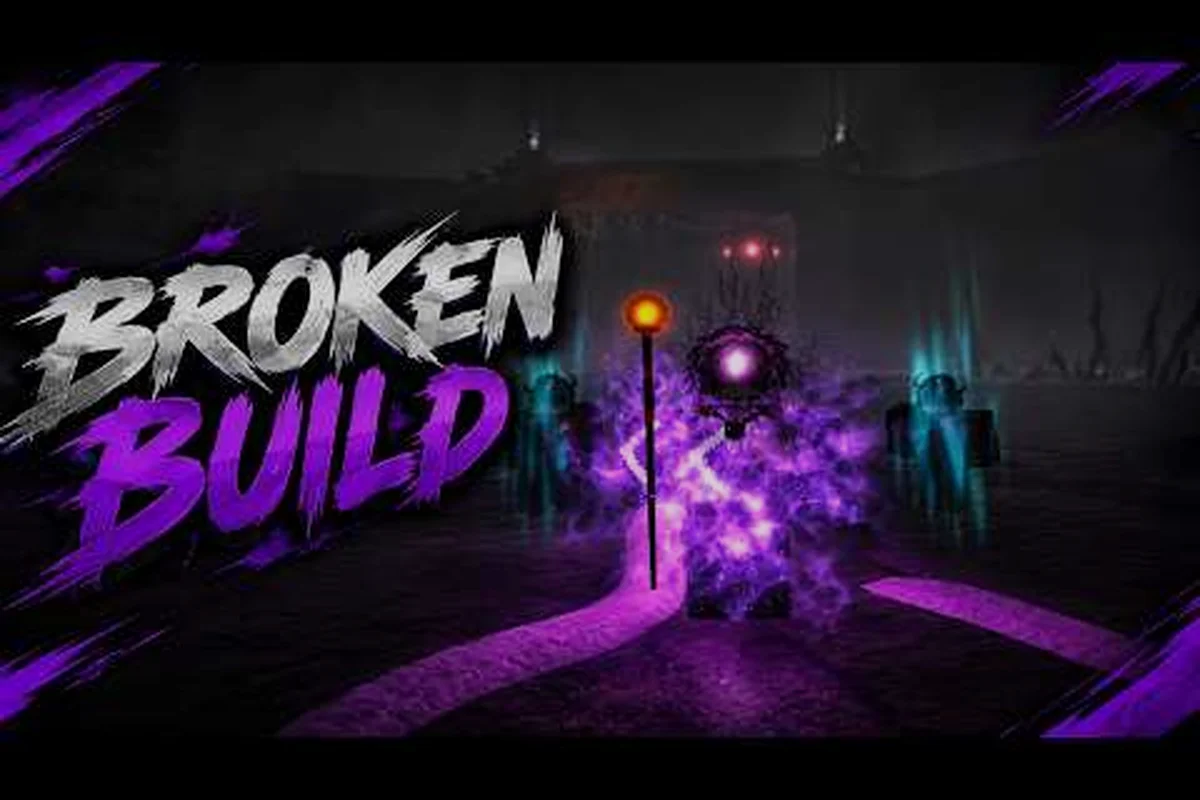
The Veil boss guide gives you a single route through all twelve documented encounters, from the early zone fights that teach Weaving combat to the endgame Primordial Era showdowns in The Pale. Boss order matters more than raw damage because each fight assumes a higher enhancement tier than the last, and skipping ahead is the most common reason a solo run collapses in two hits.
How Boss Order Works in The Veil
The Veil boss order is zone-locked rather than gated by a questline. Each Obelisk you activate on foot unlocks fast travel, but the boss encounter sitting behind it expects a certain level of gear, an established combat rhythm, and a Sanity bar you're comfortable managing. Community data from boss roster videos suggests the rough progression runs surface world bosses first, mid-tier Maze encounters next, and Primordial Era fights last, consistent with the hidden-boss route shown in Its_Nin's Puppeteer walkthrough.
| Zone | Tier | Typical Enhancement | Boss Tier |
|---|---|---|---|
| The Glade | Early | +1 to +5 | Surface world bosses |
| The Maze | Mid | +6 to +12 | Maze-exclusive bosses |
| The Pale | Endgame | +13+ | Primordial Era bosses |
| Hidden Encounter | Any | Varies | The Puppeteer |
Skipping a tier means fighting enemies whose hit count and damage scale assume you have already cleared the previous wave. A solo player at +4 enhancement walking into The Pale is a one-shot target, not a learning experience.
Reading the Sanity Bar
The Sanity bar is the soft gating mechanic underneath every fight. High Sanity raises damage and lowers incoming cooldowns, but each boss has a different threshold at which it starts landing heavier combos. The Stormcaller, for example, is reported by players to escalate when you stay mid-range, while The Crowned Nothing rewards patience because its second phase opens a long punish window after the crown visually fractures.
Every Documented Boss in The Veil
The Veil all bosses list is shorter than the community rumor mill suggests. According to the The Veil boss roster video and verified Roblox badge data, the game ships with eleven named bosses plus a twelfth hidden encounter, with the "Bell Boss" being a community nickname for one of the existing fights.
| # | Boss Name | Zone | Phase Style | Notable Mechanic |
|---|---|---|---|---|
| 1 | The Stormcaller | The Glade | Single phase | Aerial shock waves |
| 2 | The Beholder | The Glade | Single phase | Laser sweep |
| 3 | Smelter Demon | The Glade | Single phase | Fire pools on death |
| 4 | Hiveling Titan | The Maze | Two phases | Swarm summons |
| 5 | Goblin Warlock | The Maze | Two phases | Minion curse |
| 6 | The Festering Wound | The Maze | Two phases | Bleed aura |
| 7 | The Crowned Nothing | The Pale | Three phases | Crown fracture punish |
| 8 | The Masquerade | The Pale | Three phases | Mirror copies |
| 9 | The Unfinished | The Pale | Two phases | Fragment armor |
| 10 | The Cell of Life | The Pale | Three phases | Endgame heal phase |
| 11 | The Puppeteer | Hidden | Variable | Summons other bosses' moves |
| 12 | "Bell Boss" (community nickname) | The Maze | Single phase | Ranged bell throws |
The Veil puppeteer boss entry deserves attention because it borrows animation sets from earlier fights. Players report it opening with The Stormcaller's aerial pattern, then switching to The Beholder's sweep, which is why solo attempts usually end with the runner trying to dodge moves that don't match the current arena. The hidden Puppeteer is not on the Obelisk map, so finding it requires a community-shared path that branches off the main Maze corridors.
The Crowned Nothing Specifically
The Veil crowned nothing boss is the first encounter where the three-phase structure matters. Phase 1 is a slow walk toward you with overhead swings, Phase 2 opens a chasing laser when the crown cracks once, and Phase 3 unlocks after the crown visually splits in half and starts a room-wide shockwave ring. Most failed runs happen because players try to burn Phase 3 instead of waiting for the post-fracture punish window.
The Veil Boss Locations and Arena Layouts
The Veil boss locations follow Obelisk placement, which is the fastest way to plan a run. The community beginner overview video confirms that each Obelisk is unlocked on foot, then becomes a paid teleport for a small Silver fee, so positioning matters more than a memorized path.
| Boss | Nearest Obelisk | Arena Type | Hazards |
|---|---|---|---|
| The Stormcaller | The Glade – North | Open plateau | Cliff edges |
| The Beholder | The Glade – East | Pillared hall | Pillars block line of sight |
| Smelter Demon | The Glade – South | Furnace pit | Fire pools, lava strip |
| Hiveling Titan | The Maze – Entry | Tight corridor | Swarm spawns |
| Goblin Warlock | The Maze – Hub | Square room | Curse ground markers |
| The Festering Wound | The Maze – Deep | Narrow lane | Bleed puddles |
| The Crowned Nothing | The Pale – Gate | Round dais | Shockwave ring |
| The Masquerade | The Pale – Mirror Hall | Reflective floor | Mirror copies |
| The Unfinished | The Pale – Forge | Industrial platform | Falling debris |
| The Cell of Life | The Pale – Core | Healing shrine | Heal aura |
| The Puppeteer | Hidden path | Variable | Borrowed move sets |
The Glade arenas are wide and forgiving, which is why early bosses feel slower than their later counterparts. The Maze corridors compress the fights so positioning becomes a survival mechanic, and The Pale arenas add phase-specific hazards that force movement, not just damage output. A separate run-through of the best solo boss strategies on YouTube walks through the same Obelisk map in the order most new players unlock it.
How to Beat Each Boss Tier
The Veil how to beat bosses approach has three principles that hold across all twelve encounters: respect the phase transitions, manage the Sanity bar before the second phase, and treat any drop as bonus loot rather than a guaranteed farm.
Tier 1 – Surface World Bosses
The Stormcaller, The Beholder, and the Smelter Demon are the fights that teach Weaving combat. The Stormcaller wants you to dodge aerial shock waves by rolling toward the boss rather than away, because the shock wave explodes outward and the safe zone is the back arc. The Beholder's laser sweep can be blocked by the pillared hall pillars, which is why pulling the boss into a side column turns the fight from a reaction test into a positioning test. The Smelter Demon leaves fire pools on death, so the safe pattern is to bait the overhead slam, dodge twice, then back away before the pools spawn.
Tier 2 – Maze Encounters
The Hiveling Titan, Goblin Warlock, and The Festering Wound all share a two-phase structure. The Hiveling Titan summons smaller swarm units during Phase 2, which is when the Weaving combo rhythm matters because the boss itself stays passive while the adds pressure your health bar. The Goblin Warlock drops curse markers that slow movement, and the community recommendation is to clear the marker with a quick light attack before resuming the boss pattern. The Festering Wound's bleed aura is reported to deal percentage-based damage, so stacking resistance passives before the fight is more efficient than trying to heal through it.
Players also report random night-only encounters in The Maze, including the community-named Ancient Bones stalking figure described in the Ancient Bones encounter video. These are not fixed-arena bosses, and the safe rule is to break line of sight and move toward the nearest Obelisk.
Tier 3 – Primordial Era Fights
The Crowned Nothing, The Masquerade, The Unfinished, and The Cell of Life live in The Pale, which is the endgame Primordial Era zone. Each fight has at least two phases and assumes you have already cleared the Maze. The Unfinished is described by community data as having fragment armor that breaks in chunks, so a sustained single-target build is more efficient than spread damage.
| Boss | Recommended Setup | Key Phase Transition |
|---|---|---|
| The Crowned Nothing | High-durability, ranged punish | Crown fractures |
| The Masquerade | AoE clears for mirror copies | Mirror shatters |
| The Unfinished | Sustained single-target DPS | Armor chunks break |
| The Cell of Life | Interrupts or burst windows | Heal phase begins |
Soloing these encounters without the right enhancement tier is a coin flip, which is why the kill order matters more than the route. Solo setup details are covered in the The Veil solo bosses guide, which maps the same tier structure to one-player gear loadouts.
Farming, Loot, and Build Considerations
Weapons drop from Maze hordes, boss kills, and special chests, and the The Veil weapon farming video confirms that drop rates improve on night runs and higher-tier hordes. Because the game publishes no official drop-rate figures, treat any number you see in a community video as a sample, not a guarantee.
Choosing the Right Character to Farm
Weapon-luck passives shift the odds, so the farming character should be the one with the best luck stat, not your main fighter. The community recommendation is to set up a dedicated farming alt with race passives that boost luck, then run the alt through the highest-tier horde you can clear reliably. Boss kills are a slower path but they also drop enhancement materials, so the The Veil best boss to farm guide breaks down which encounter gives the best return per run based on clear time versus drop quality.
Pre-Boss Buff Checklist
Before pulling any boss in The Pale, run through a short checklist so you don't waste a buff on a wipe:
-
Confirm enhancement tier is at or above the zone minimum
-
Stack the relevant resistance passive (bleed for The Festering Wound, curse for Goblin Warlock)
-
Eat any food buff that raises Sanity recovery
-
Bind a healing skill to a key you can reach without looking
-
Clear adds in the surrounding Maze corridor so you don't get sandwiched
The Puppeteer Variable Phase
The Puppeteer is the one boss that doesn't follow the tier rules, because the encounter mixes move sets from other fights. Solo players report the most success by treating it as a survival run rather than a damage race, focusing on dodging the borrowed animation rather than punishing after each one. The community also notes that the Puppeteer arena changes shape between attempts, which is why recorded runs vary more than for any other fight on the roster.
Frequently Asked Questions
What is the recommended enhancement tier before entering The Pale in The Veil?
Community data suggests +13 or higher is the practical minimum for The Pale, but the game publishes no official enhancement cap, so treat that as a soft floor based on what other solo players report clearing. If you can survive a full Hiveling Titan Phase 2 without burning your healing cooldown, you're probably ready for the first Primordial Era encounter.
Where do I find The Puppeteer in The Veil?
The Puppeteer is a hidden encounter that branches off the main Maze corridors, so it doesn't show up on the standard Obelisk map. The community has shared a path that activates after you clear The Festering Wound and teleport back to the Maze Hub, but the exact trigger is reported to vary by patch, so check a current run-through before committing to a long detour.
Can I fight The Crowned Nothing before finishing The Maze?
Yes, but it's not recommended. The Veil crowned nothing boss opens a chasing laser in Phase 2, and the arena lacks the pillars you can use to block line of sight in earlier fights. Most players who skip ahead end up learning the Crowned Nothing pattern at the same time they're trying to learn The Pale arena hazards, which is two difficulty curves at once.
How many bosses are in The Veil total?
The Veil all bosses list includes eleven named encounters plus a twelfth hidden fight, with the "Bell Boss" being a community nickname for an existing entry rather than a separate boss. Roblox badges confirm the eleven official names: The Stormcaller, The Beholder, Smelter Demon, Hiveling Titan, Goblin Warlock, The Festering Wound, The Crowned Nothing, The Masquerade, The Unfinished, The Cell of Life, and The Puppeteer.
Does the kill order change with the Primordial Era content?
The Veil boss order still ends with The Cell of Life as the current endgame fight, and the Primordial Era bosses sit in the slot before it. New players can experiment with the early Primordial Era encounters in any order, but the kill order is roughly: surface bosses, Maze bosses, The Crowned Nothing, The Masquerade, The Unfinished, and finally The Cell of Life.